Browse the glossary using this index
Special | A | B | C | D | E | F | G | H | I | J | K | L | M | N | O | P | Q | R | S | T | U | V | W | X | Y | Z | ALL
A |
|---|
Activity blockTo embed an activity block
ActivityHTML code:<div class="aBlock-activity"> <h3>Activity</h3> <h4>Activity Title</h4> <p>Description of activity</p> </div> See also:
Sample usage:
| ||
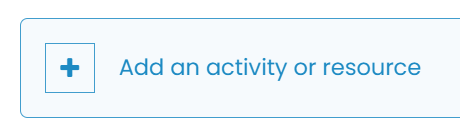
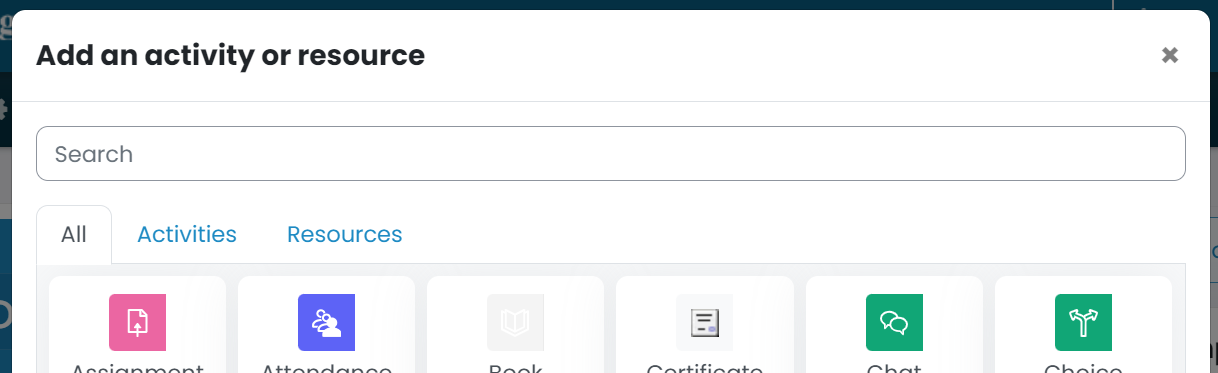
Activity or Resource 2 (Indent)Mainly for use when you want an activity or resource to appear related to/part of an item above.
For more information see: | ||

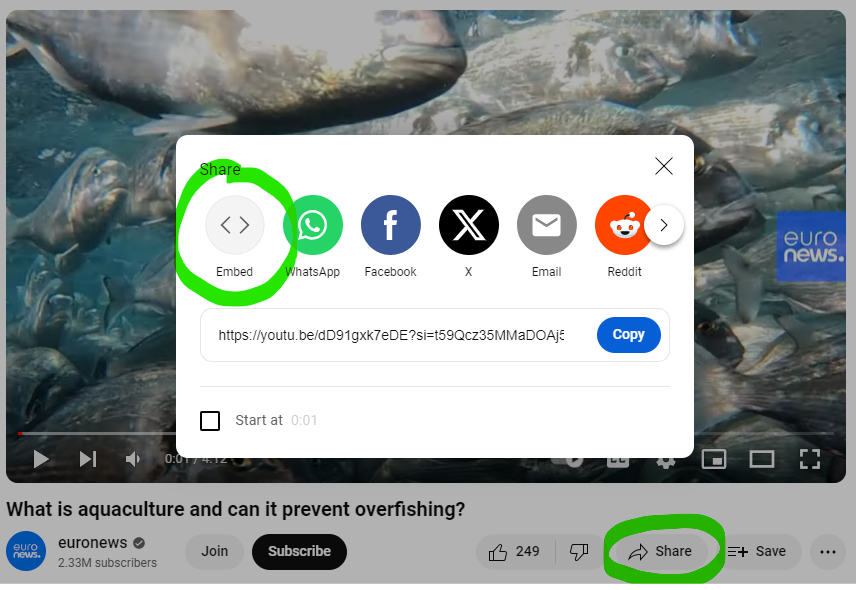
Adding / Embeding Video
YouTube videos:
| ||
Announcement 1 (create)To create an announcement
| ||
E |
|---|
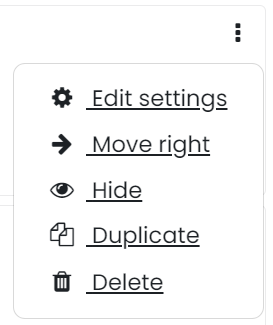
Editing an Activity or Resource
| |
F |
|---|
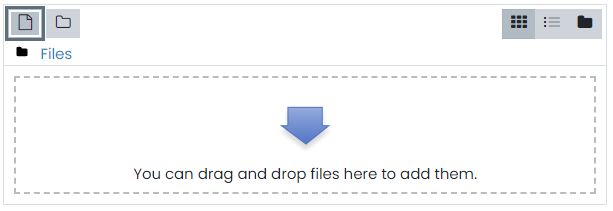
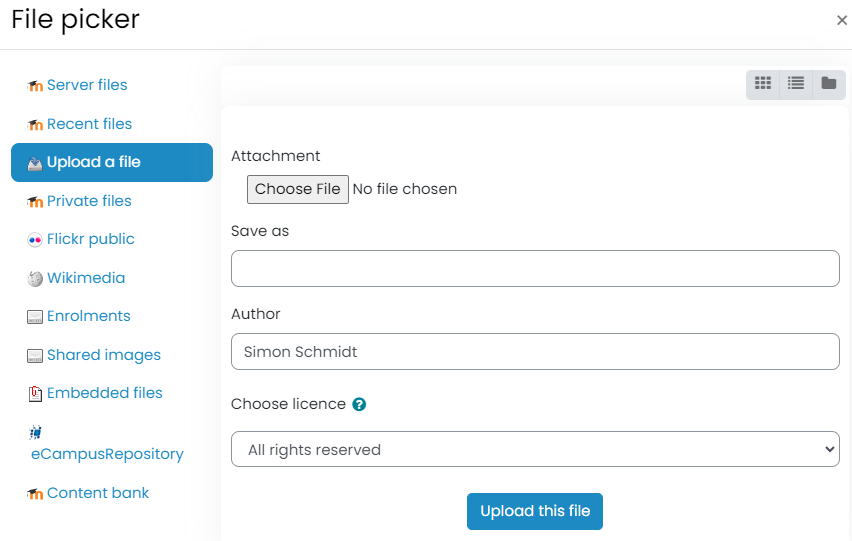
File 1 (add)To add a file (e.g. PDF)
| ||
Forums 1 (set up)To set up a forum
Sample usage:
| ||
H |
|---|
Hide or Show Blocks
| ||
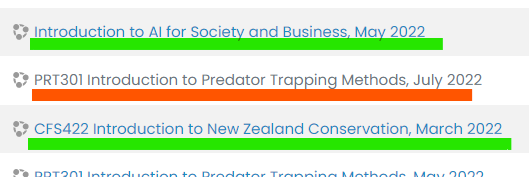
Hide or Show your course to studentsOften when a course is rolled over the course is hidden so adjustments can be made or until the tutor wishes to show it to the enrolled students. A course that is hidden shows up as greyed out on the dashboard and search. In the image below the green courses are Shown to students and the orange is Hidden.
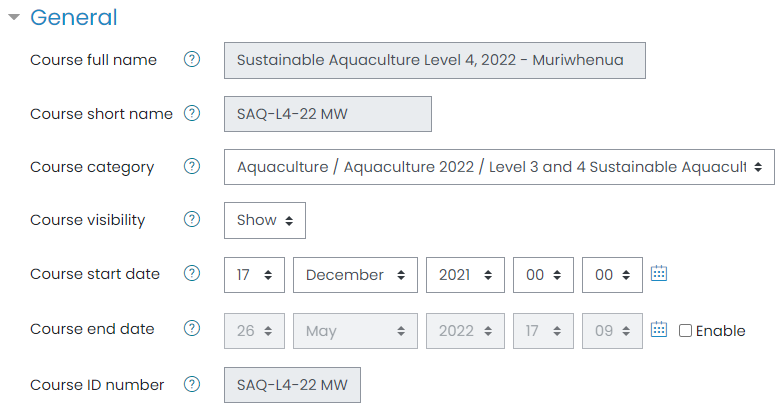
Show or Hide a course
| ||