Files: Adding, Replacing and Deleting
On this page:
- Adding a File
- Deleting a file
- Replacing a file with another
Adding a File
To add a file (e.g. PDF)
- Go to the course page where you want the file displayed.
- Click Add an activity or resource
- Choose File
- Follow the prompts to name the file, and to describe it (optional).
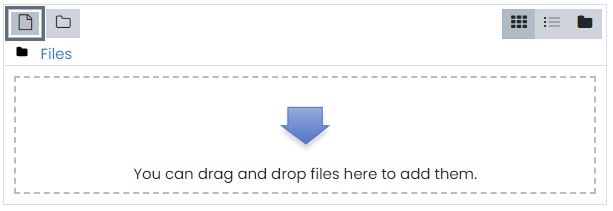
- Select a file to add:
- EITHER drag and drop the file from your device into the Select file box. This is easiest.
- OR choose the Add icon (far left). Then choose Upload file and select it from your computer OR Recent files if the file is already stored in the course.
- Once you have selected the file(s), check the settings. The default setting are usually what is needed.
- Click Save and return to course.
Deleting a file
- Go to the page where the file is showing as an object.
- Click Edit (to the right of the file object) and choose Delete.
Replacing a file with another
Sometimes it makes more sense to replace the file associated with the file object.
- As above, go to Edit the file, but choose Edit settings.
- Edit the name and description if appropriate.
- In Select files, click on the thumbnail image of the file you want to replace.
- In the pop up box that appears, choose Delete.
- Add a file to replace the one you deleted.
- Click Save and return to course.
Sample usage:
- Replacing an old assessment brief with a new version.
Last modified: Tuesday, 2 July 2024, 3:42 PM