Browse the glossary using this index

Special | A | B | C | D | E | F | G | H | I | J | K | L | M | N | O | P | Q | R | S | T | U | V | W | X | Y | Z | ALL

S

Screen cast (create)

Screencastify is an add-on to Chrome and will save your screen casts in your Google Drive.

While there are lots of apps out there to make screen casts, this one offers the following benefits:

  • it's free
  • it's easy and intuitive to use 
  • saves your screen casts into your Google Drive
  • only allows, on the free version, screen casts to be up to 5 mins long
  • gives you a heads up after 4:30 mins your time is coming to an end.

Here is a screencast from LiiT Learning Designer Jocelyn MacKay on how to use Screencastify [4:23]


Section 1 (add)

To add a section to a page:

Note: this is for multitopic only

  • Scroll to the bottom of the page
  • Click on the Add topic button
  • The new section will be added at the bottom
  • You can rename it by clicking the pencil icon to edit the title.

  • Type the new section name and press enter

See also:


Side block (add)

What is a side block?

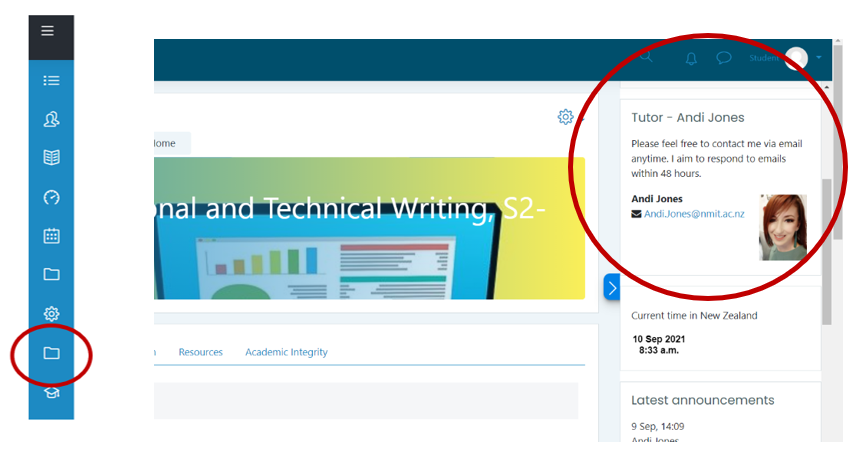
Blocks can be added to the collapsible menu to the right of a course. They highlight important information for learners.

Screenshot of side block and where to add a block from the left-hand menu

To add a side block

  • At the top right of your course page, select Turn editing on. 
  • If your left-hand navigation menu is collapsed, select the hamburger menu to expand it ( Hamburger menu icon, top left).
  • Select add a block in the navigation menu.
  • Choose the type of block you want. Useful blocks include:
  1. HTML – the only truly customisable block which we use to add e.g. tutor details
  2. Calendar - helpful reference for students particularly when it comes to checking assessment dates
  3. Latest announcements – shows the latest (2) course announcements
  • When you select the block you want, it will appear in the side panel on the right of the screen.

See also:


Side block (HTML)

To customise an HTML block

  • First you will need to add a side block and choose HTML as the type of block to add.
  • A newly added HTML block will appear at the top right of your Moodle page.
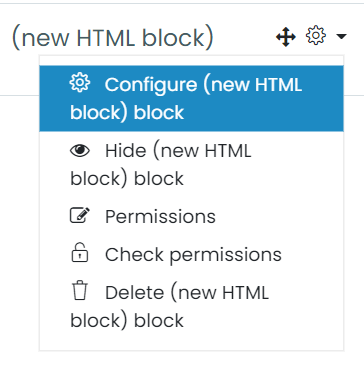
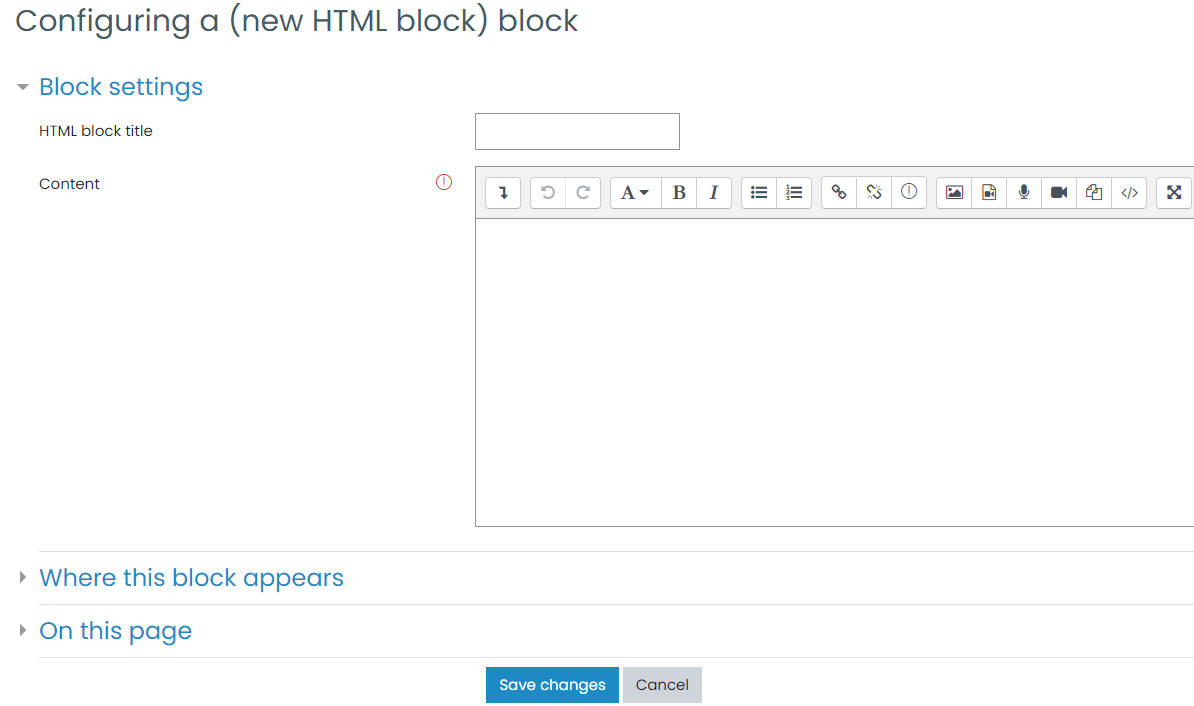
  • Click the cog to 'configure', adding your text and images. Less is more!
  • Save changes.


See also: