Groups: How to place your students in them
On this page:
- Groups settings
- Auto-create groups
- Create groups
- Using groups in forums
- Restricting views to groups
- Editing existing forums
- Messaging in Groups
Groups settings
Make sure your Moodle page is in editing mode.
Go to Participants in the top menu bar. This allows you to see all the students enrolled in your course.
in the dropdown at the top left select Groups.
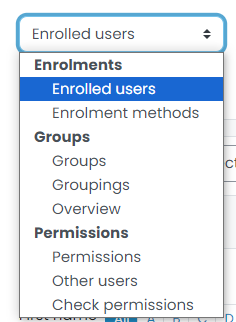
This window will appear.
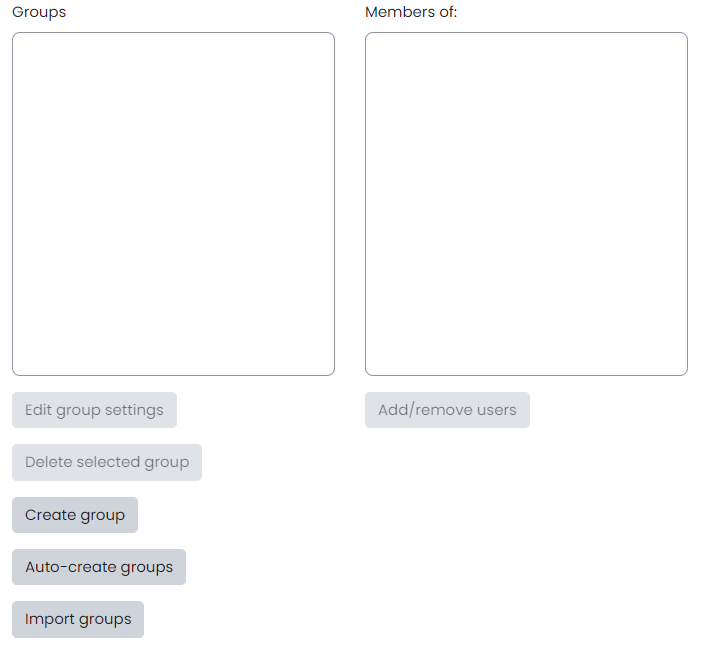
You have two choices:
1. Create groups where you manually nominate the students to go into that particular group. Useful if you have a combined class or a class heavy in one gender and you want to balance this out
2. Auto-create groups. This option is really useful and quick
Auto-create groups

Click on the Auto-create groups
and work through the options
Naming
scheme. The computer will automatically name your
groups - Group A, Group B, Group C. Explore options if you want 1, 2 etc
Auto create based on. Here you can change to members in each group eg 5, or how many groups you want eg 10
Group count Depending on your choice above will determine how many people in the group, or how many groups.
Usually leave Select members with role and Select members form cohort as they are unless required.
Scroll down to Prevent last small group and tick the box. This stops one person being in a group on their own and helps to distribute number
Click Submit at the bottom of the page
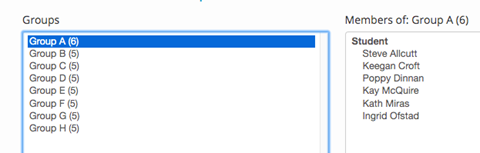
For this class we have 8 groups
with 5 members except Group A has 6 members. (Use of prevent last small group).
When I click on Group A you will see all
the members of that group.
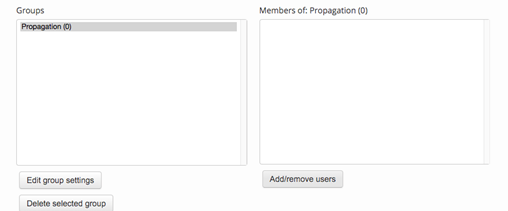
When you click and highlight a group there
is the option at the bottom of the screen to Add / remove users. When you
click on this option you can override the computer and manipulate the group
numbers yourself by adding and removing students.
Click on the name of the student you wish to add or remove and then click the Add or Remove arrow button. Please note you are not removing the student from your course, just from that particular group.
Create groups
If you use Create groups then you are manually creating your groups one by one and adding the students your self
Click on the group you have created, and then click Add /remove users. The second window will have all the students in your class and you can select the relevant students by clicking on their name and then clicking the Add arrow button. Or conversely if you wish to remove a student from a group, highlight the particular student and click Remove. Please note you are not removing the student from your course, just from that particular group.
Using groups in forums
If
you don’t have a forum set up in a tab in Moodle your course scroll to the
bottom of the page you want the forum in. (If you already have a forum created
go to the end of this document to Editing
existing forums)
Click on Add an activity and scroll down to Forum. Name your forum
Scroll further down the page to Common module settings. In this setting click on Group mode and choose Separate groups, then scroll to the bottom of the page and click Save and return to course.
Go back to your course and scroll to the bottom of the page. You will see your forum, in this example called Propagation forum. And for this exercise I put the students into Propagation groups A - H
Restricting views to groups
As a student in a group they will see….
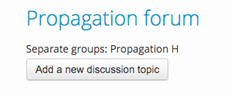
As a student eg in Group H, you will see an ordinary forum icon. When you click on the forum to add your post or comment inside you will see this. Note this student is in Propagation group H
As a tutor you will see:

As a tutor you will see the Restricted label telling you that there are groups.
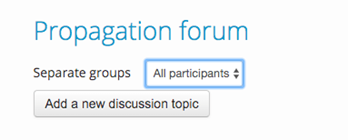
When you click on your forum eg in this case Propagation forum you go through to this window.
Click in All participants and you will see your separate groups. By clicking in each group, you are able to see the contribution made to that group by the various group members
Editing existing forums
If you have an existing forum you must first, make your groups as above.
Go to your existing forum and click Edit, and Edit settings.
Scroll approx. halfway down the page to Common module settings. In this setting click on Group mode and choose Separate groups, then scroll to the bottom of the page and click Save and return to course.
Messaging in groups
To enable group messaging
- Go to Participants, click the cog to the right, and select Groups.
- Select a Group from the box on the left.
- Select Edit group settings.
- Change Group messaging to 'Yes' (from the default 'No'). This enables the group messaging function for that group.
To send a message to a group
- You need to add yourself to the group to message them.
- Once you have added yourself, click the message icon in the top right of your screen
 .
. - Click the name of the group you want to message (listed under Groups).
- Type and your message and Send. By default, group members will be notified by email.
Last modified: Tuesday, 2 July 2024, 3:15 PM